
Once upon a pandemic I started the most quarantine-cliche of hobbies: Sourdough baking! I detailed some of my journey/process and have spent the last two years honing my craft (and eating a whole lot of carbs). I'm still by no means an expert baker. But I've picked up a few tips and tricks (and a few tools) on my way...enough to actually get in a rhythm so each baking session is less wild experimentation and more delicious execution.
So I thought it would be helpful to pull together a super quick guide to the tools and recipes I use. This is far from an all-encompassing tutorial...there are millions of people better suited to that than me. Think of this as a shopping list and resource guide to get you started.

Recipes:
I've tried a lot of things over the years (if you can make it with sourdough...I'll give it a whirl. We're talking brownies, waffles, tortillas...See my full pinboard here.) and they were definitely not all winners. A few Pinterest fails won't keep me from trying new things, but for now, here's the short list of my tried-and-true basics that I go back to frequently.
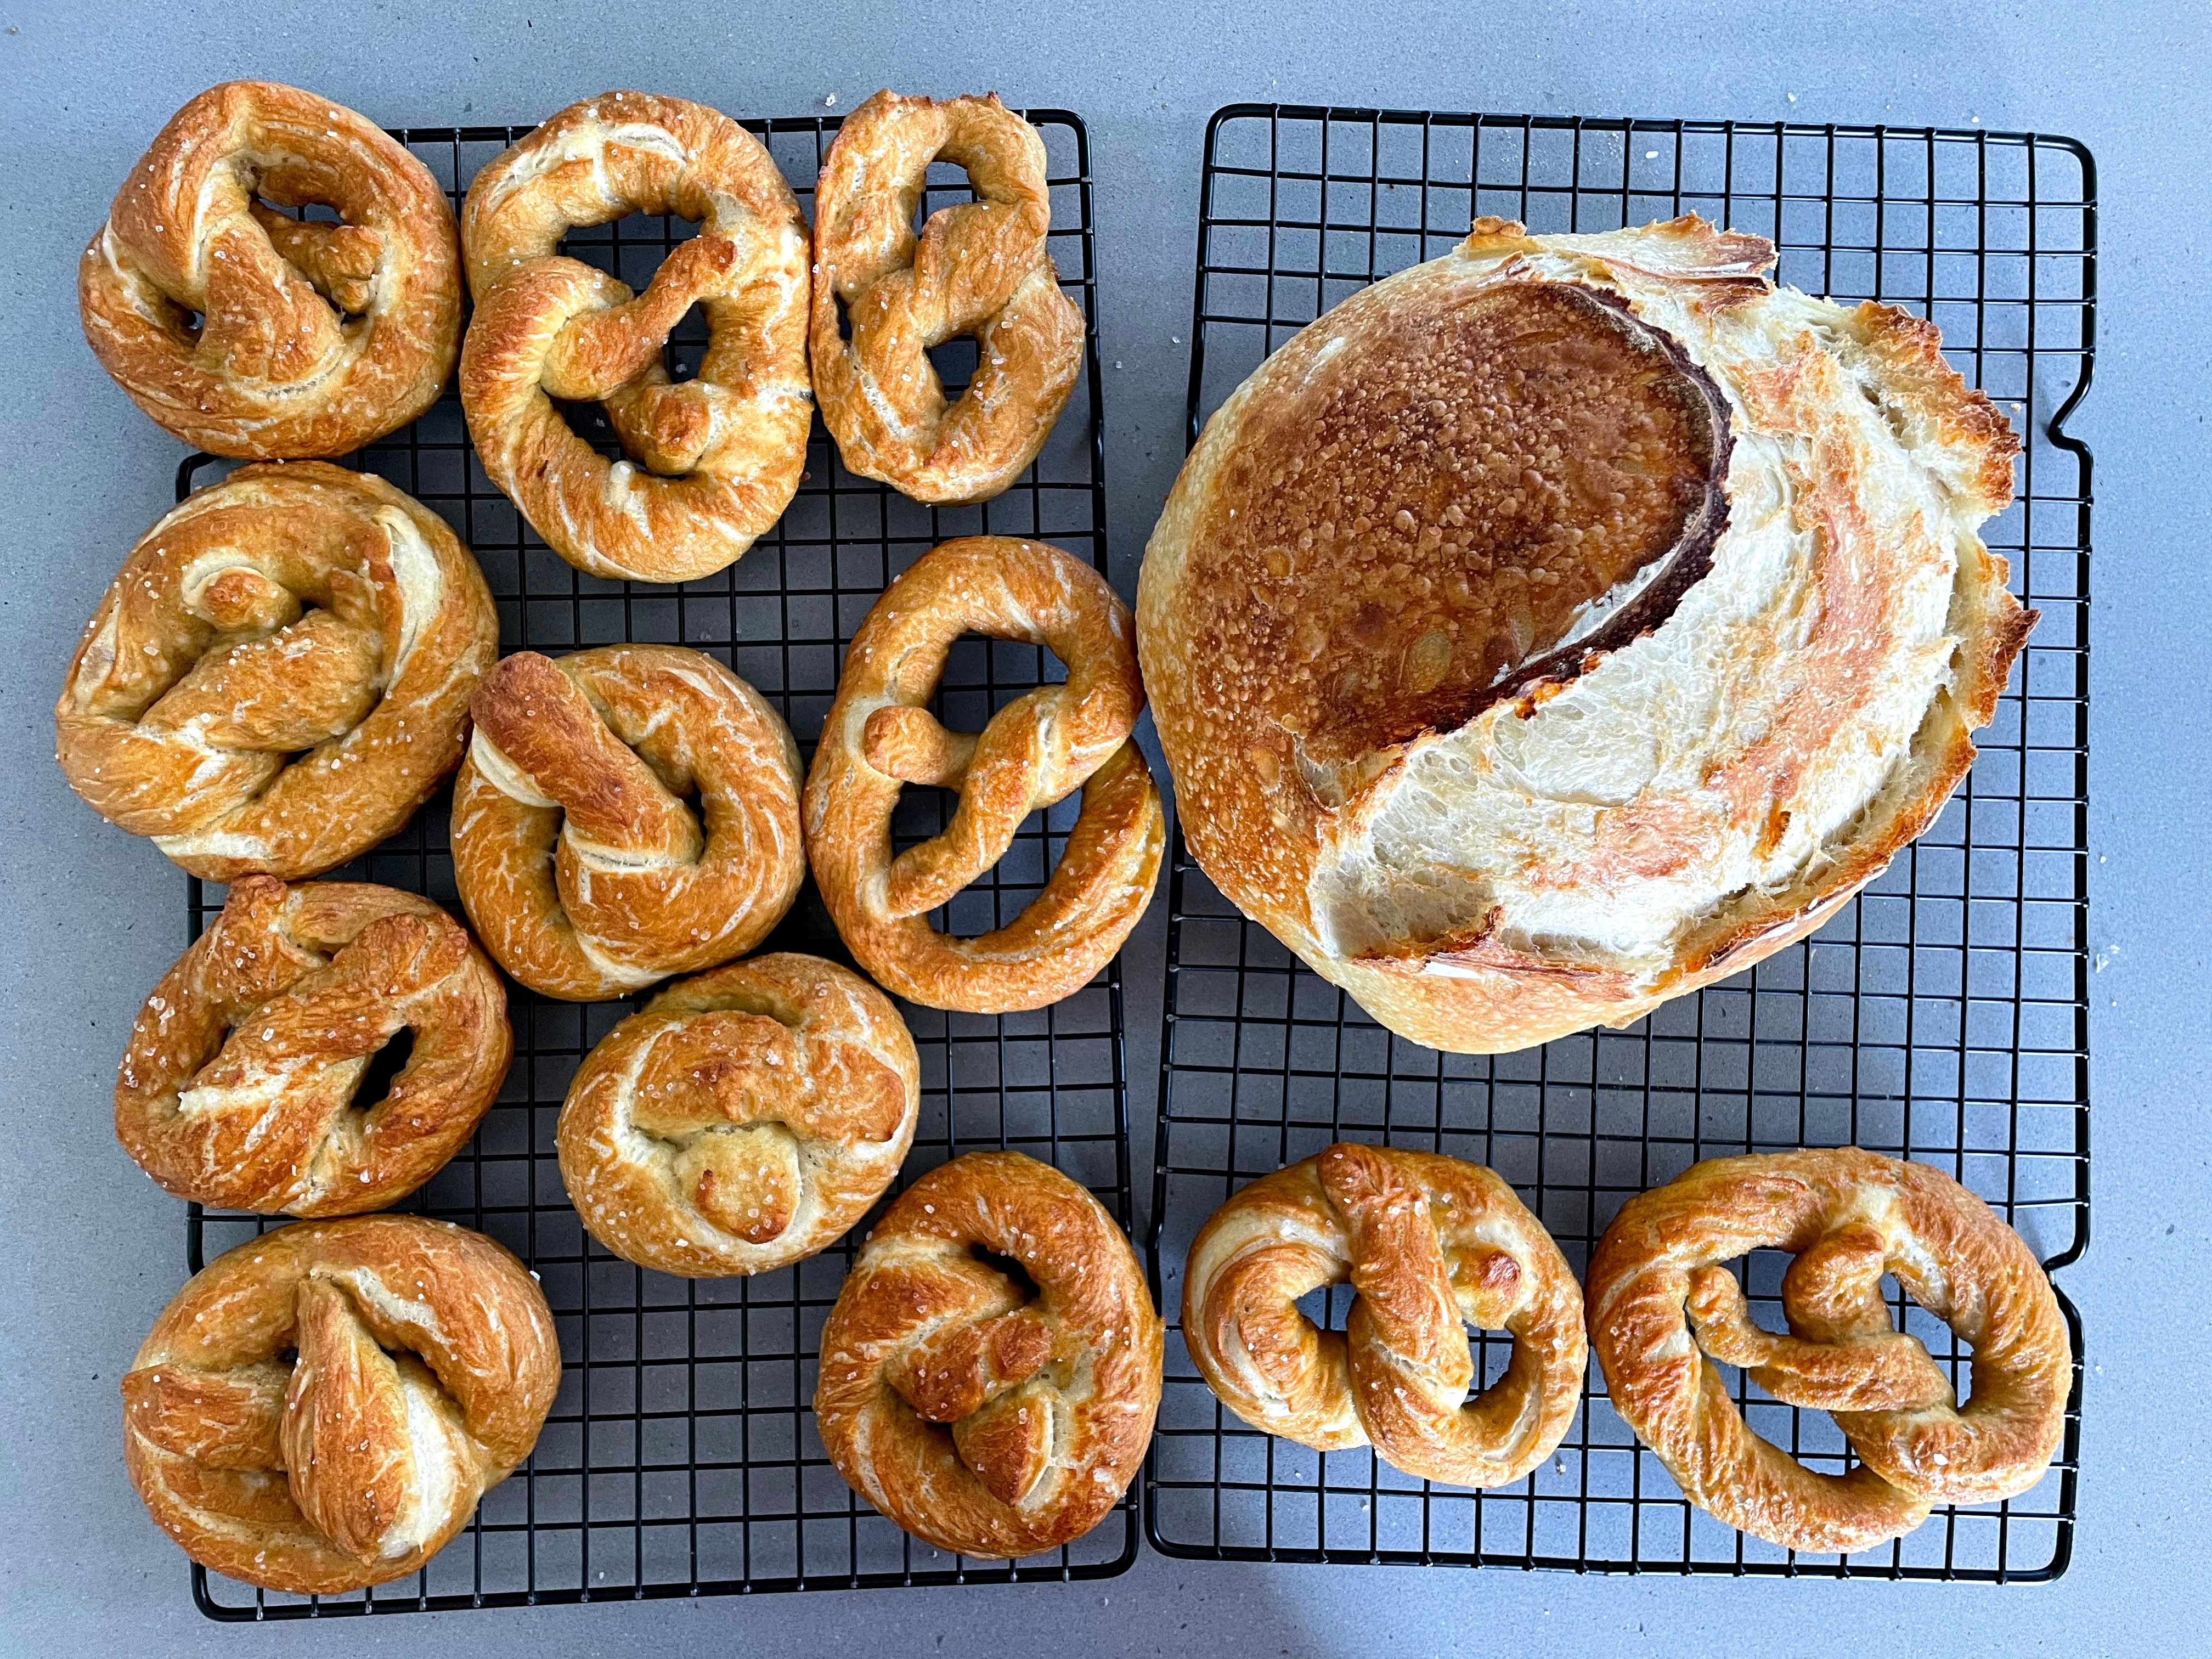
- Traditional Sourdough Bread: see full recipe below.
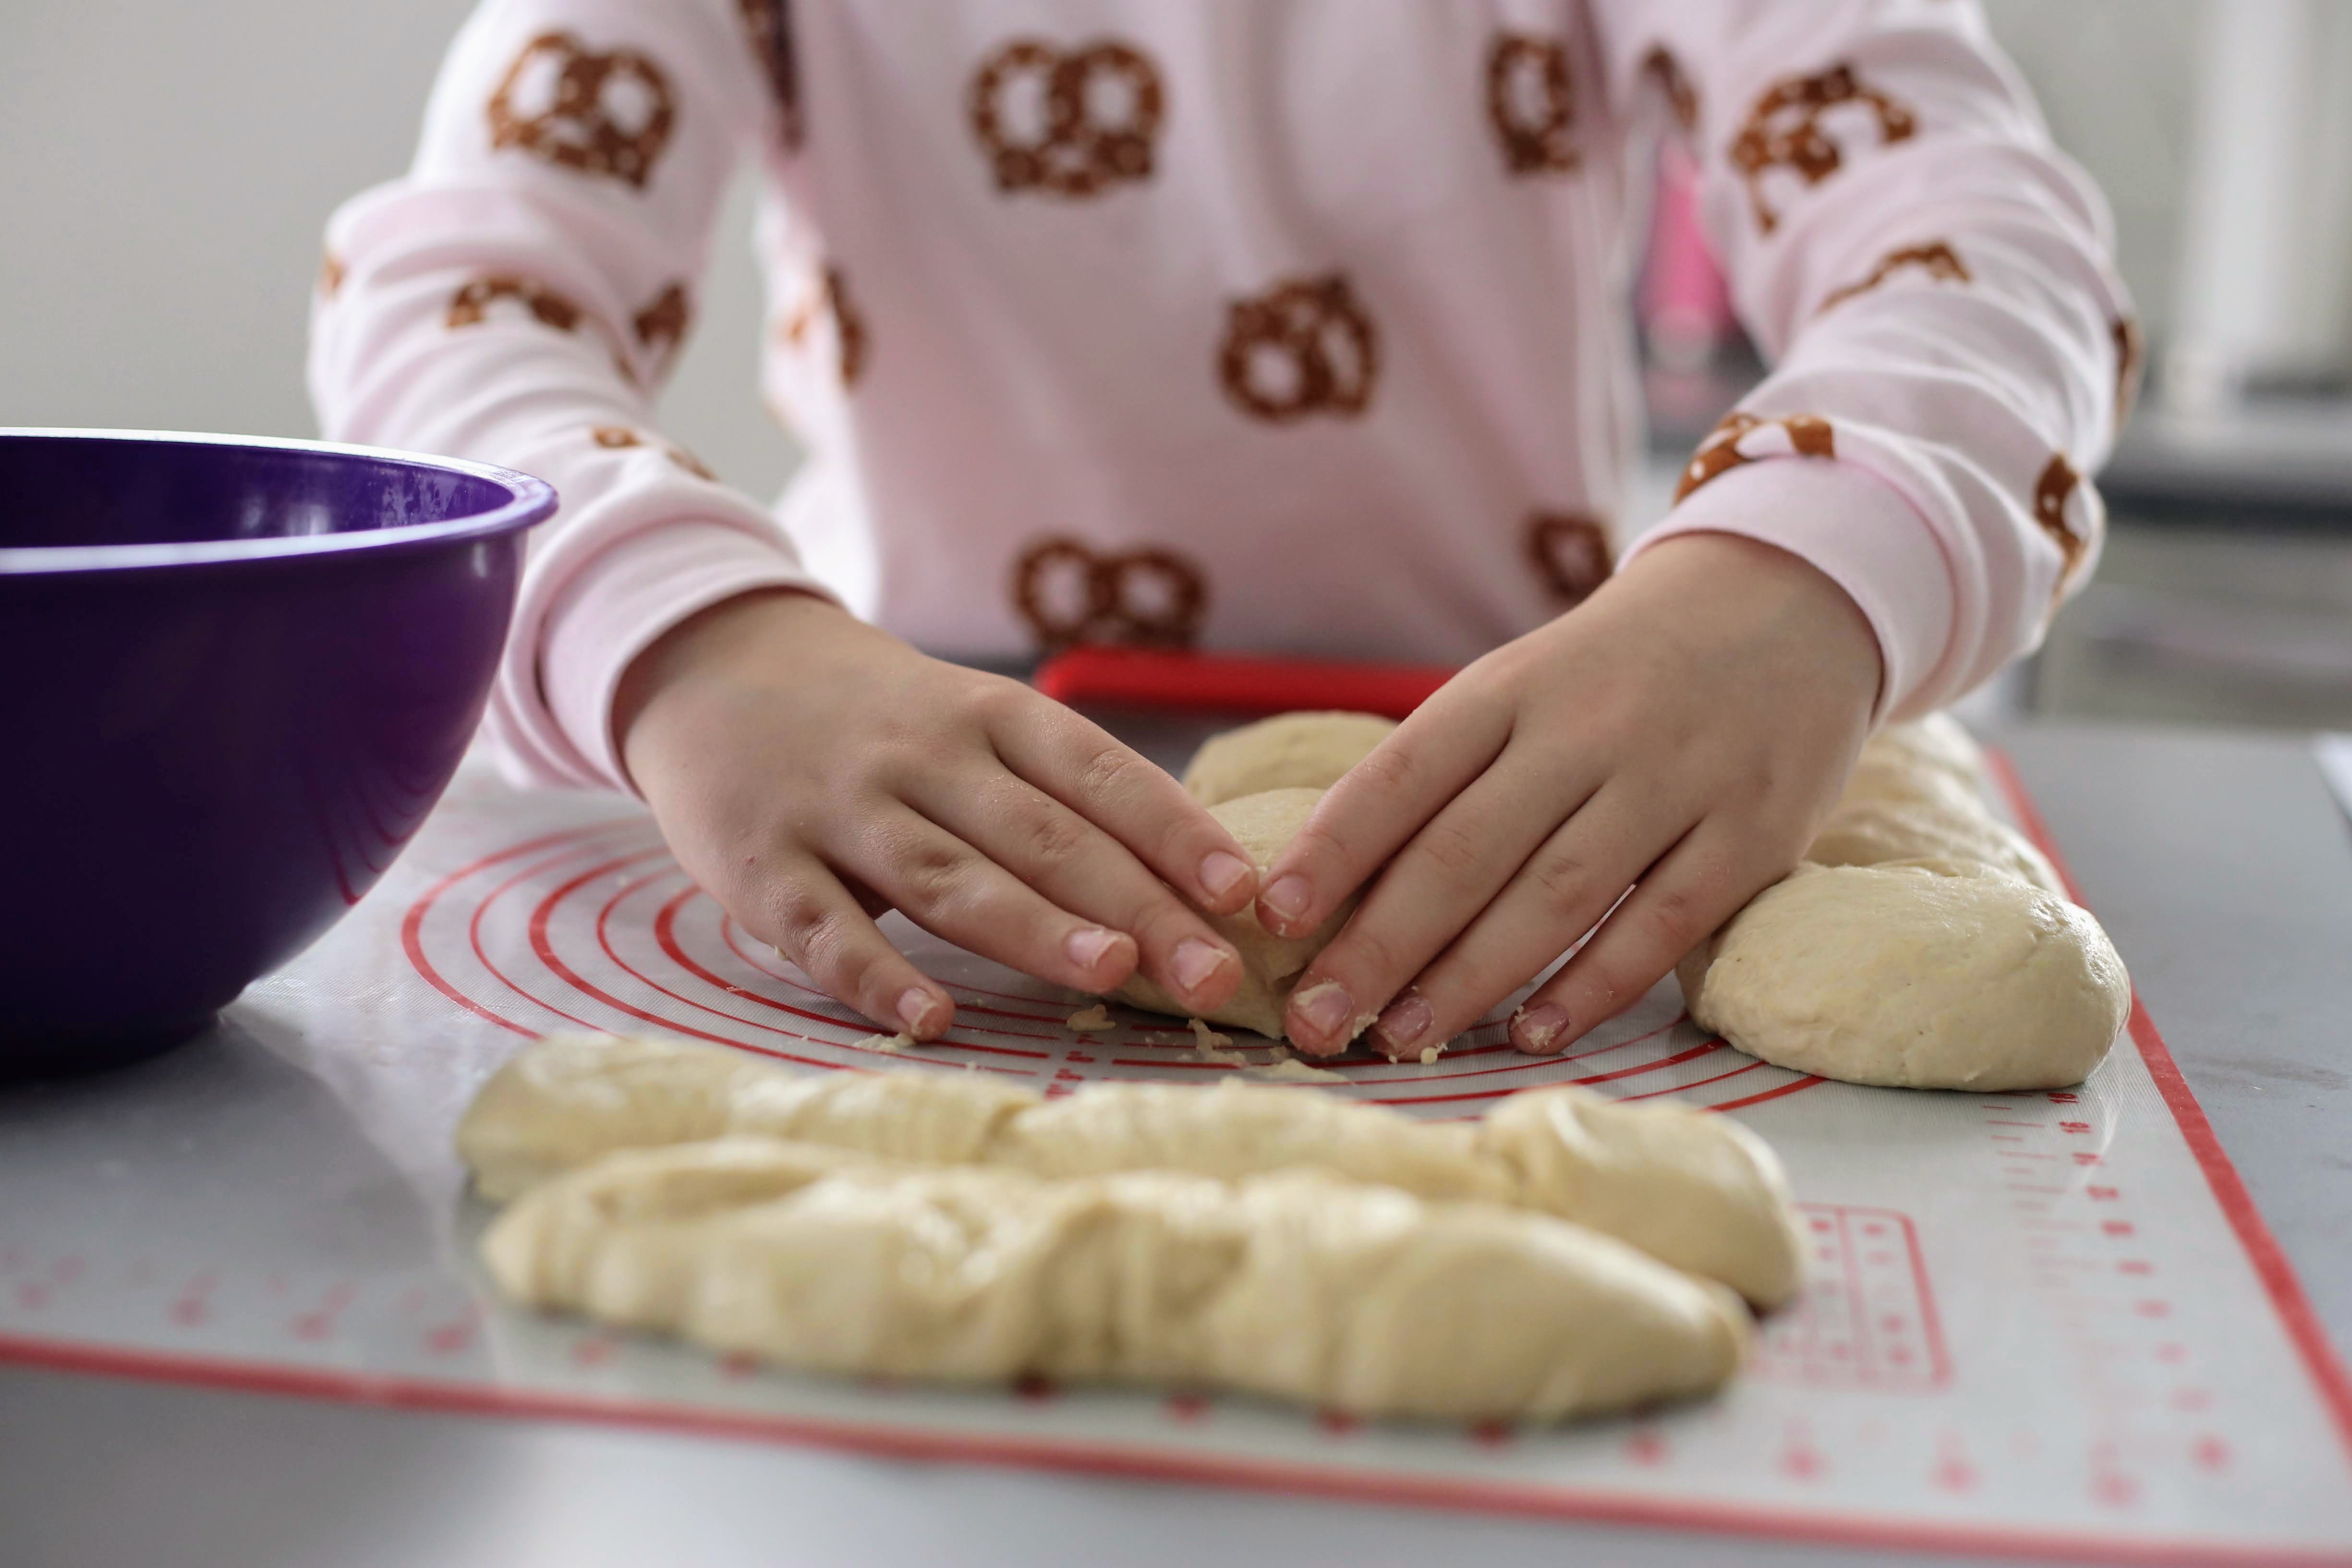
- Pretzels: This recipe by Baking Sense is AMAAAAAZING. The only change I make is adding more flour, so it's about 2 cups in total rather than 3.5. Serve with salami and cream cheese, cut them to use as sandwiches, or make them as nuggets (takes longer, but they're kind of irresistible) and serve with Aldi Sweet Bavarian Mustard.YUM!
- Pizza dough: Little Spoon Farm is a sourdough expert and this pizza dough is so easy and delicious. Cooking in a skillet + broiling is a game-changer!
- Pasta dough: via The Gingered Whisk. I'm not sure sourdough is a necessity in noodles (ok...it definitely isn't) but it's fun!
- Bagels: Another Little Spoon Farm winner. These are a bit time consuming, but worth it!


Tools:
And now that you know what you're going to make, here's what you'll need to make it. Well actually- you really don't need any of this to make sourdough things. In the beginning, I didn't have any specific tools- just my regular mixer and some measuring spoons- so I improvised with bowls, pots, cookie sheets etc. There's no shame in that game, but if you're looking to level-up, or want some ideas on what to get the aspiring bakers in your life, here's a basic lists of my go-to tools:


- Bannetons- These are fancy bowls to bake your bread in. I have two 9" rounds to make "boules" but you can get them in loaf pan shapes too.
- Dutch Oven- You could get a beautiful (and expensive) Le Creuset...but this basic version is working just fine. Mine is 6qt, and fits my 9" round loaf perfectly. (plus it's really pretty in grey!)
- Pastry scraper- this tool, above all else makes me feel like a real professional. Just seems like you really know what you're doing, ya know?
- Bread Lame (razor)- crucial for making those fancy little designs that make your bread look (even more) gorgeous
- Flour Sacks- Helpful lightweight towels used for covering dough, cleaning up, and honestly, literally any other task in the kitchen.
- Silicon Baking Mats- Full disclosure- I REALLY struggled to find mats that would fit my baking sheets, and these still aren't perfect, but I use the larger sizes quite a bit, and the circle works great in the dutch oven. Came with a tiny spatula and a silicon brush which I use constantly, so that's a good bonus.
- Silicon pastry mat- My husband bought me this, thinking it was a mat to bake on, but it's actually a huge work surface...and I ADORE IT. I roll out all my pretzels on this, and it helps keep the sticky mess contained. The measurements printed on it are helpful too!
- Spatula Set- Such a solid assortment and range of sizes. I have a lot of spatulas junking up my counter, but these are my favorite.
- Measuring cups- not revolutionary, but these are just so perfect. Easy to clean, tons of sizes.
- Bread Bags- Want to get a little "extra"? Yeah ya do! I gift all of my breads in these bags. So profesh!
- KitchenAid Mixer- You probably already have this, right? How did I go my entire life without one? It's actually not used to make traditional bread, but I use it for many other sourdough recipes and consider it a kitchen staple now.
- Pasta Maker Attachment- sort of a sidenote- but I didn't want to shell out the $$ for a KitchenAid brand version and have been very happy with this version.
- Baking set- Ok, I don't actually have this set, so I can't personally vouch for the quality- but it has a lot of the basics you'll need, and is a great price, so could be an excellent starter pack while you figure out if this whole yeasty adventure is for you.
- Pretzel jammies- You know what? Forget the rest of the list. These are all you need.

Sourdough Bread Recipe
This is the same process from my original blog post, but condensed down (without pictures) for quicker reference.
Day 1:
- Hour 0: (8am) Feed the starter: Mix ½ cup warm water and ½ cup flour together and add to the starter. Let it sit at room temperature (covered is fine) for around 5 hours.
- Hour 5: (1pm) “Autolyse”: Mix 8 cups of flour and 3 ¼ cups water. Let sit together for 30 minutes (Cover with a damp cloth and let sit at room temperature).
- Hour 5.5: (1:30pm) Add ½ cup starter and 1 tablespoon salt. Mix together. Cover for 30 minutes
- Hour 6-7.5: (2pm, 2:30pm, 3pm, 3:30pm) Begin stretch and fold. Pull the dough up from one side, stretch it out, pull it across the bowl, and fold it back onto itself. Quarter turn the bowl, and do it again 4 times (one on each side). I like to scrape the sides after to keep the bowl clean. Do this once every half hour, 4 times, covering in between stretch and folds.
- Hour 7.5: (3:30pm) Cover for the bulk rise. Let it sit at room temperature for about 6 or 7 hours.
- Hour 14: (10pm) Shape your loafs: Sprinkle your work surface with a little flour. Cut the dough in equal size halves. Separate them. Pull them delicately into rectangles. Pull small sections alternating from each side, folding into the middle to make a log, then roll it on top of itself to create a ball. Push the outsides underneath to hide the seams. Cover and let it rest on the counter for 30 minutes.
- Hour 14.5: (10:30pm) Repeat this last step, but skip the resting. Place each loaf into a banneton Cover and let proof in the refrigerator overnight.
- Remove the dough from the refrigerator
- Place dutch oven in the oven and preheat to 450 degrees.
- When preheated- place the dough in the dutch over (place a silicon baking mat or piece of parchment paper in the bottom first)
- Use a bread lame to cut the top of the loaf (a simple semi-circular cut works, or you can do a more elaborate design) to allow for growth while baking.
- Brush with an egg wash (1 egg or 1 egg white mixed with a little bit of water).
- Bake, covered for 25 minutes.
- Remove the lid. Bake for an additional 10 minutes
- Let rest for 30 minutes before cutting/eating

Psssst....Want to get all the Bowdenisms news delivered right to your inbox?


No comments :
Post a Comment